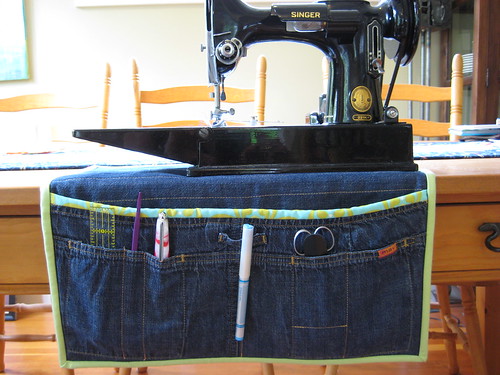
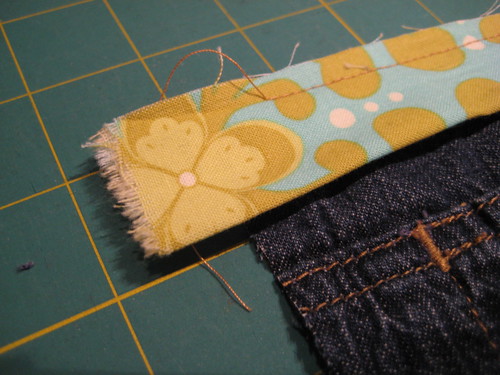
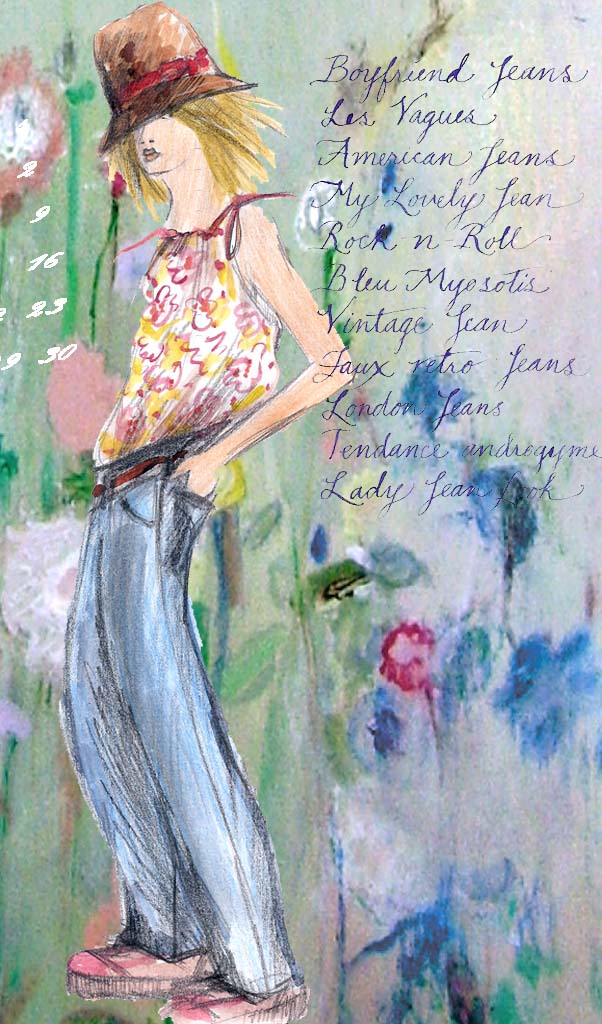
And just like that... we're here! At the end of our Drop-Dead Denim road... Wow! My heartfelt thanks to my amazing guest-blogger-friends, to the Flickr group contributors, to the generous giveaway sponsors, to all commenters and readers, to all those denim artists out there, and of course, to denim itself. You've made this month a real highlight for me! I just have one last little post left for you... Enjoy!
♥ M
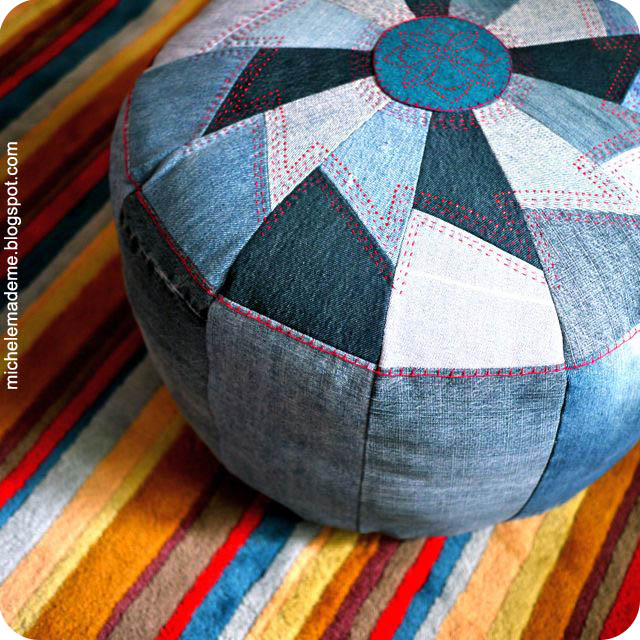
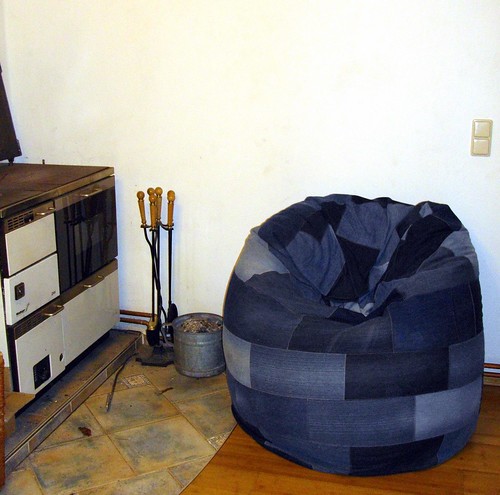
I hadn't made any denimy goodness for the boy this September, bad me, and I felt I needed to rectify that. What fun thing could I make him? I decided to go with a pouf for his room. I've been planning one of these for, like, ever. And you know what? It has been a HUGE hit. I didn't have the slightest clue that he would love it the way he does. He lugs it about. He rolls it around. He hugs it. He jumps on it. He beats it. And I let him. It is one tough pouf!
Tutorial: One Tough Pouf
I kinda made this up as I went along. Here's my attempt to explain my process.
You will need:
- Denim scraps in different shades
- 18" round template (I used a large plastic platter rescued from the recycling bin.)
- 5" round template
- paper templates as drawn out in #2 below
- Pair of scissors
- Sewing machine
- Ruler and pencil
- straight pins
- needle and thread
- stuffing (I used the stuffing from 2 large cushions that we rarely used)
- Optional: embroidery thread and dimensional fabric paint
1. On a large piece of paper, draw out a circle using your 18 inch circle template. Find the center of your circle. You want to figure out how big a 1/12th wedge of the circle is. The angle of the resulting wedge will measure: 360°/12 = 30°.
2. So from your circle, you will pick out one 30° wedge and then add a 10 inch long rectangle to the bottom of this wedge. Divide the wedge from the bottom rectangle with a straight line. Now divide the wedge into two sections as in #2. Cut off about 1 inch of the uppermost apex of the wedge. On a separate sheet of paper draw out the individual resulting shapes. Add 1/4 inch seam allowance to every side of each shape. Cut out your shapes. These are your pouf templates.
3. For each pouf template, cut out 4 each of 3 different shades of denim. I did light, medium and dark as best I could.

4. To prepare for sewing, pin top wedge pieces right-sides together as shown in Photo #4, mixing shades of denim as you go.
5. To ensure that the edges of your wedge pieces line up, intersect the pieces as shown in #5. Sew the pieces together with a 1/4 inch seam allowance.
6. Once you unfold the wedge at the seam, the edges of the two pieces should match.
7. Sew the wedge to the rectangle right-sides together using a 1/4 inch seam allowance.

8. When unfolded, this will give you a house shape as shown in #8. You need 12 house shapes to make the pouf. Repeat steps 4 through 8 until you have all 12 house shapes.
9. Pin two house shapes right sides together. When pinning the house shapes together it is IMPERATIVE to align the joint between the wedges and rectangle pieces. Otherwise the whole pouf will be askew. Stitch along one side of the house shape with a 1/4 inch seam allowance.
10. Press the seams once sewn. Notice that the two house shapes sewn together no longer lie flat. That's good. Add the next house shape to the set of two as in #9.
11. Repeat Steps #9 and #10 until you have sewn all the house shapes together. Join the two end house shapes, pinning and then stitching them right sides together. Press all seams.

12. To finish the top of the pouf, cut out two 5 inch circles, one out of denim and one out of another fabric scrap.
13. Pin the circles right sides together.
14. Stitch circles together with a 1/2 inch seam allowance leaving a few inches open for turning. Cut tiny wedges out of the circle's seam allowance avoiding the opening. Turn the circle inside out. Press.
15. Pin the circle, denim side up, to the center top of the pouf. Stitch in place.

16. Adding a 1/2 inch seam allowance prior to cutting, cut out a denim circle with the help of the 18 inch circle template.
17. Using pins, mark the location of 12 evenly-spaced points along the edge of the denim circle. To do this, start by folding the circle in half. Mark the halves with pins at the edges.
18. Fold the half circle into sixths. Use a ruler to get matching measurements. Mark the sixths with pins on the top and bottom.
19. Fold the sixths in half to find the twelfths. Mark with pins along the edges.

20. Join the denim circle to the pouf right sides together.
21. The pins of the circle should meet the joints of the pouf.
22. Once all of these points are joined, add several pins to the outer edge. Stitch with a 1/2 inch seam allowance. Leave an opening for turning.
23. Snip the seam allowance all the way around except at the opening.

24. Stuff your pouf. I used the stuffing from two large cushions to stuff it. This makes a relatively firm pouf.
25. Sew the opening shut.
26. Optional: Add decorative stitching or dimensional paint to make your pouf one-of-a-kind. I added red embroidery details and little dots of red fabric paint to our pouf because that's the boy's favourite-most colour.

And we are there. We have made one tough pouf, yay and yippee!


Thank you again for joining me this September. A great time was had by me, I can tell you!

And I think we now have definitive proof.

Creativity IS in your jeans.

Now go have yourself a fantastic weekend. I'll see you in October!
P.S. The lucky giveaway winners were announced in the previous post!