Showing posts with label quilting. Show all posts

Friday, March 4, 2016

Five Little Things #6


Five Little Things is an occasional series that I do here on the blog. It's a list of five things that may or may not share some vague aspect in common.

Five little things that I have learned:

Thing 1:  A kind of important thing that is complete news to me: How to edit the title text on your blog photos: HERE.

Thing 2:  The best news I've had in years. It would appear that eating chocolate makes you smarter HERE. Statistically significant? You bet your fudge balls it is!

Thing 3:  And speaking of which... you know that dipping dry toast in hot chocolate (AKA: hot cocoa) is like being directly inside of heaven right? You do know that? Good. Just checking.

Thing 4:  HERE is a clever way to make flying geese (the quilty type) without creating waste. Fantastique!


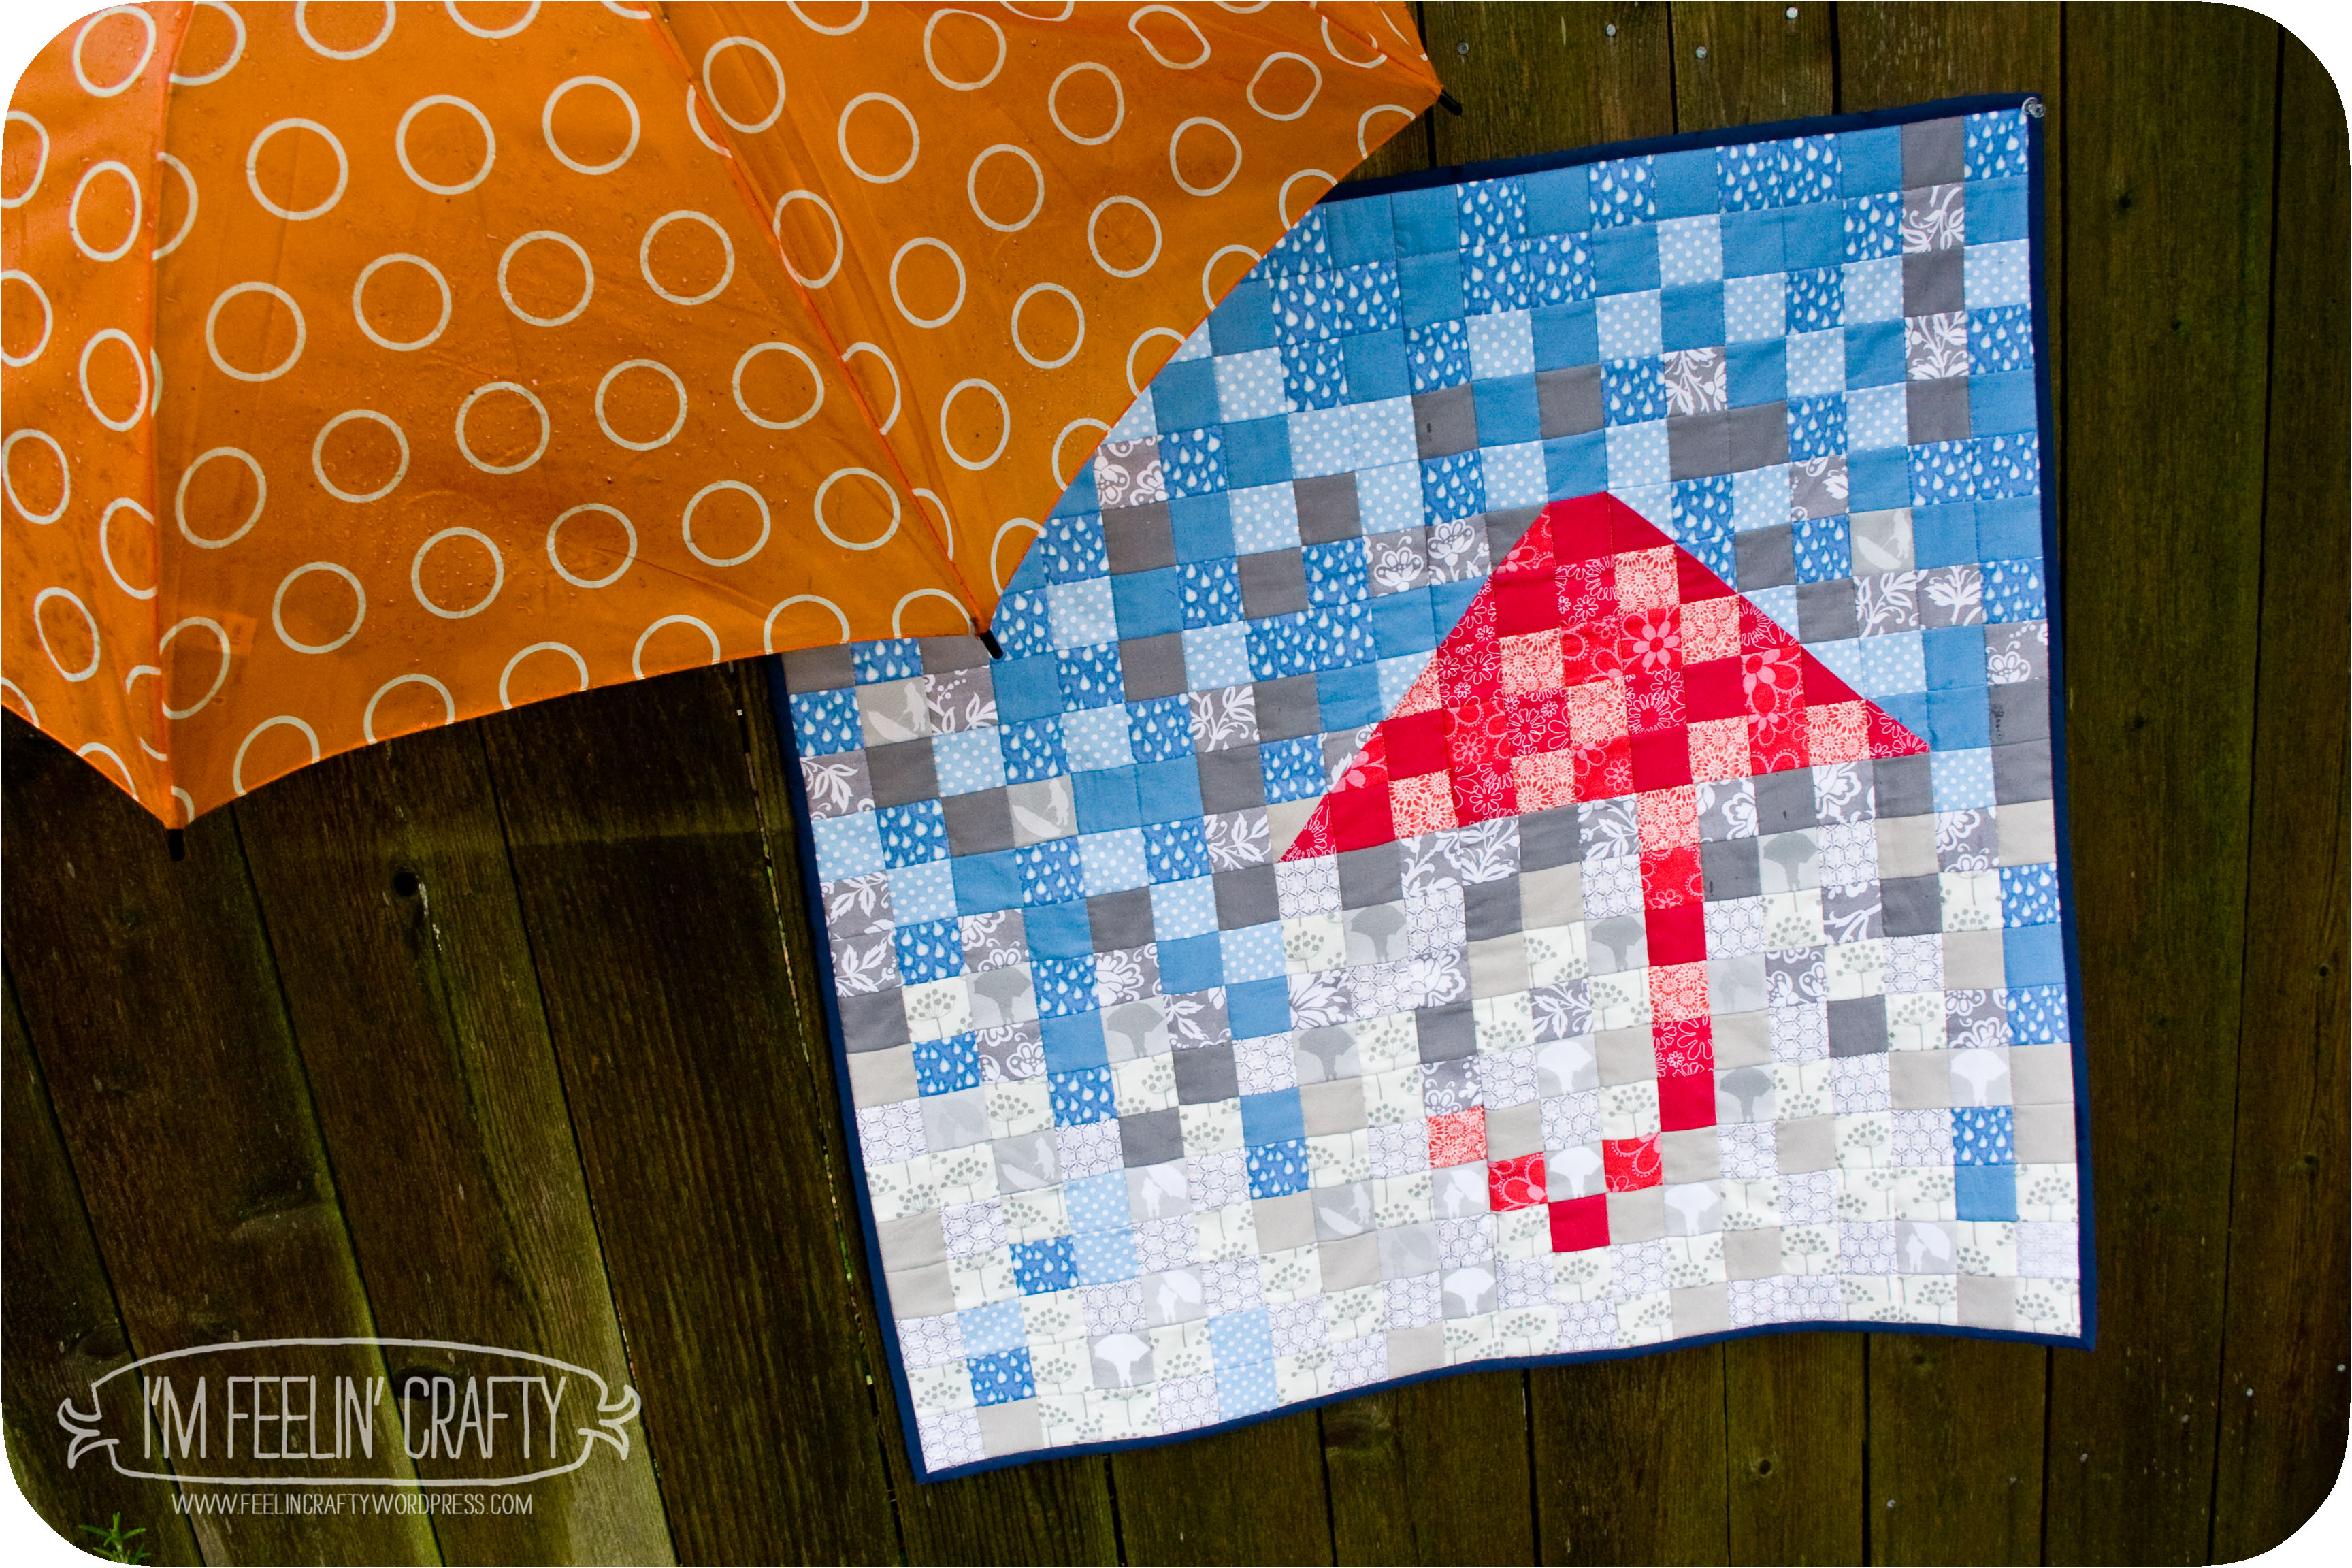
Thing 5:  Piet Mondrian's work still inspires 72 years after his death as shown in the little framed quilt I've put together lately (see photos).

♥︎M

Friday, February 26, 2016

A Quilted Double-Sided Butterfly Cushion


The other day I was scouring the ether for simple, sweet and modern quilt block ideas to spruce up a cushion, when I came upon the cutest butterfly charm block paper-piecing pattern by Lillyella. While not quite what I'd originally had in mind, I just could not ignore those adorable flutterbys. The charms instantly warmed my cold cold heart and before I knew it, I had pieced a "Gidget" for my cushion.


Lillyella's Gidget butterfly pattern was easy to follow and, even in the hands of a novice paper-piecer such as myself, it turned out imperfectly sweet. What's more is the pattern is 100% free and included in it are instructions and templates to make three distinct butterflies: Gidget, Cricket and Pepper! How nice is that?

Since I used her utterly free pattern to grace my cushion, allow me to return the favour with a tiny plug, won't you? Lillyella has a blog and a store with beautiful paper-piecing patterns. Go check her out, goshdarnit.

Oh and by the way, here's the back of the cushion which I drew out and English paper-pieced.


I'm smitten with the whole double-sidedness of this creation. It's like a mood cushion. Sometimes I'm in a butterfly mood. Sometimes I'm in a squarish-flower mood.


Because you never know when a butterfly mood will strike - not to mention a squarish-flower mood - so it's best to always be prepared.

♥︎M

Thursday, February 4, 2016

Hurray for Hearts!


Over the past few years, I have concocted quite an assortment of heart-themed things, it's true. So I thought it might be fun to hop into our virtual time-machine and see what sorts of Valentiny treasures we could dig up on the old blog, eh? Here are some of them:

In the left-hand column, we have the sunkissed heart wreath (tutorial included), the tissue box valentines (tutorial included) and the quilted heart rug. In the right-hand column, we have the tissue box photo hearts (tutorial included), the crazy heart cushion and the twig and cereal box heart (tutorial included). And finally at the bottom, we have the fabric heart garland!

It's neat seeing them together in one fell swoop. (That's a whole lot of hearts there Michele.) Kind of puts me in the heart-making mood though, eh? How 'bout you?

♥M

Sunday, January 31, 2016

Quilt In Progress


Today I'm busy stitching together the various parts of my latest quilty project. Haven't made one of those in a while, eh? Here's a quick peek...

♥M

Thursday, July 23, 2015

Crazy Heart Cushion


Don't know if you remember the Quilted Heart Rug? Well here's its companion piece, the Crazy Heart Cushion.


Forgive me, but I couldn't resist making another heart-themed quilted thingie... Looks quite fetching resting in the great outdoors on my wooden bench, doesn't it?

♥M

Thursday, January 8, 2015

My 2015 New Year's Resolution


A Happy New 2015 Year to you!

How are you?

Wonderfully well, I hope.

I, myself, am well. We had a lovely holiday season. Quiet. Small. While our little family usually galavants about the Canadian country side hither and thither all holidays, this year we stayed put. And I, for one, enjoyed the slower pace.

Which brings me to my New Year's resolution. That's right, there's only one. But it's a biggie for me. And it is this: patience. Having it, getting it, practicing it, growing it, breathing it, eating it for breakfast.


Yes, I am an impatient person. I like things done now, man. And I like them done in a certain way. Don't make me wait. Don't ask me silly questions. Just do it. And do it right, or you will regret it.

You see what I mean? It's a problem. It's a real and abiding problem. It is a tenacious beast that I wrestle with every single day. So this year? This year is the year. This year, I take a deep breath, and I tackle the beast.

Wish me luck.

♥M

P.S. Made more 3-1/2 inch blocks to go with these babies. I've added a couple yellow Hour Glass blocks, a blue Churndash, and a pink 'n yellow Eight-Pointed Star Variation. Busy and impatient little bee.

Friday, November 28, 2014

Small Cousteau's Calypso Quilt Block


You got 'em too, don't ya? Fabric scraps, I mean? Yeah, me too... So I thought I'd gradually try to put a dent in the pile by rustling up a collection of small 3-1/2 inch (3-inch finished) quilt blocks. Slowly. Here and there. Now and again...

I've got a few made so far. They're cute, eh?


In a clockwise direction, I've got a blue and white shoo-fly block, and then a new-to-me block called Cousteau's Calypso in purply-pink 'n yellow. Had to paper-piece that one. Then there's a navy blue and white Patience block, and finally a pink and grey Cracker block.

What will I make with them? Heaven only knows... Got any ideas? I'm all ears.

♥M


Wednesday, November 12, 2014

Reversible Scrappy String Rug


Chilly extremities run in the family. I, like my father before me, am forever finding ways to get just a little warmer. Multiple layers of socks will often do the trick. A hot pot of tea can work. The donning of 17 sweaters? A perennial favourite. My children are no exception to the rule. Often, on a frosty winter night, we have found ourselves bundled together under a stack of blankets watching a favourite television show, keeping each other cozy. Now that's the life, eh?


A recent addition to the quest for warm toes is the scrappy little rug. I've made a few in the last few months like the quilted heart rug and, my personal favourite, the crazed little rug of scraps, for example.


And here is yet another made especially for Elle who lives far away but whose toes should certainly not be neglected. A nice way to simultaneously use up scraps and keep those tootsies toasty, don't ya think?

♥M

Friday, September 26, 2014

Quilt Finish: Rows of Bows!

This scrappy "Rows of Bows" quilt was inspired by a quilt top made by an unknown maker displayed in a book called Cotton Candy Quilts by Mary Mashuta. I started making her on July 24th, 2014. I completed her on September 23rd, 2014. That's 2 months less a day. Not bag.

For my quilt, I chose to use only plaids and stripes collected painstakingly over many years. Amongst other assorted fabrics, lots of old shirts and shorts belonging to Lo and the Boy are found in this quilt. Some belonging even to me are in there. The backing fabric was provided by my mom whose extensive fabric stash I recently inherited because she loves me. What can I say except that I was a model child. But you know this.

"Rows of Bows" is a no-nonsense straight-line machine-quilted quilt, and is massive at 96 inches (2.4m) wide by 100 inches (2.5m) long.  I don't know exactly how much she weighs but I would wager it's about a ton, give or take.


I'm pleased she's done. She's resting on our bed as we speak. And it is my hope that very soon I will be happily snuggling right there with her.

♥M

Disclosure: The link to Cotton Candy Quilts is an affiliate link. I will benefit financially if you opt to purchase a copy of the book.

Tuesday, September 2, 2014

Bowtie Quilt Flimsy


Hello blog.

Hello you. I hope you've been well.

I've been away for some time t'would appear. Months and months and months. But here I am again interestingly. I think I thought I wouldn't be back. I think I thought I was done with blogging. But I've surprised even myself today because here I am.


Anyway... Here is my latest project. A scrappy, queen-size, bowtie flimsy (that's an unquilted quilt top in case you were wondering) I've only just completed. She's now ready for the next big step...


Sandwiching and basting, and then quilting after that. I'm choosing to machine-quilt this one. Hopefully ol' Betty, the ancient White sewing machine, is up to the task. I sometimes wonder if I am...

We will have to wait and see I guess. Maybe I'll surprise myself again. Surprises can be a good thing, right?

♥M


Monday, February 10, 2014

Quilted Heart Rug In The Snow


Hi there.

How are you today? Well, I hope.


I, myself, am feelin' pretty darn good.

I've been quilting, and singing, and playing in the snow. In Ontario, Canada, we have SO MUCH beautiful pristine white snow right now.  Today, it was calling to me to come out and play. So that's just what I did...


It was a beautiful, sunny, crispy cool, day out. The kind of day that makes you breathe deeply and think clearly. The kind of day you thank the universe for.

Plus, it was the ideal chance to stop and take pics of my latest project, the little quilted heart rug. Just in time for Valentine's Day, eh?

♥M

Previous post about this project: here.


Monday, January 27, 2014

Love Project

Whispers of a small love project... The heart is paper-pieced and modified from one I found over here at Piecemeal Quilts - thank you Sandi!

A little way to go still...

♥M


Friday, January 17, 2014

A Crazed Little Rug of Scraps


See this crazed little rug of scraps I made for my daughter Dia for Christmas?

I'm in love with it.

Why? I don't know exactly...

Maybe it's because of the improvised, fly-by-the-seat-of-my-pants way in which it came to be. Maybe it's because I felt totally immersed in it as I cobbled it together from my sweet scraps. Maybe it's because it's just as colourful and playful as she is.


Or... maybe it's all of these, eh?

♥M

A note about comments... To streamline the commenting process, I will be responding to comments directly on the blog from now on (or from the previous post on). So if you leave questions with me, you'll find responses there. Thanks so much, and have a great day!

Tuesday, November 5, 2013

Colourful Quilted Cushion. Check!


Hey there. How are ya?

It's November eh?

I finished my cushion.

Remember I mentioned it back here? The photo up top is the front and down below is the back. It's got a zip and everything so I can take it off and wash it clean. Fancy eh? We're doing it, and we're doing it right, man.

The cushion is the first tiny step in my quest for a more colourful life - or living room at least - because as you know...


I NEED COLOUR!!!

Sorry. Yelling again.

More colour to come...

♥M

HERE's a helpful bow-tie block tutorial just in case you're interested in whipping up your own colourful cushion courtesy of Twin Fibers.

Wednesday, October 30, 2013

I NEED COLOUR!!!


Sorry there.

Didn't mean to yell at you in the title.

It's just that I'm desperate for more colour in here. This place is so drab and blaaaah and oooh sooo ho-hum with the beige couch and the beige cushions and the white walls and the light grey-green carpet. Laaaahhhhh.

Small, strategic pops of colour. Zero budget. Using stuff I've already got.

That's the plan anyway.

First stop: cushion.

I've made a start on the above cushion design with Malka Dubawsky-inspired quilting. I've commenced the piecing. See below.


Sure hope this works.

♥M


Monday, September 23, 2013

"Quilting Happiness" Book Review and Giveaway


Disclosure: I received a copy of the book "Quilting Happiness" for review. All opinions below are strictly my own. All photos used with permission.

Fair warning. Before I commence this book review, I'm alerting you to the fact that this review might well be unintentionally slanted. That's because I am personally acquainted with one of its authors. I have tried my best to be impartial. But it was tricky under the circumstances. So you be the judge, ok?

Under the microscope today is a brand-new book called "Quilting Happiness". Written by Christina Lane and Diane Gilleland and published by Potter Craft, it is a book of "projects, inspiration and ideas to make quilting more joyful".

Sounds promising, eh?

This book has two distinct facets to it: the Quilting part and the Happiness part.

First, the Quilting part. Like most quilting books, "Quilting Happiness" has an array of projects that quilters can make, including several quilts and smaller projects. Each project comes complete with cutting, piecing, and quilting instructions, and includes two handy lists. The first list, "Christina's Tips", serves to simplify the project; the second list, "Quilting Ideas", suggests a few quilting alternatives. Cool!


I love quilts, as you know. If I were to pick a favourite from this book, it would have to be the very cozy-looking, hand-quilted and scrappy, Plus You Quilt pictured above.

The Quilter's Tote Bag, below, is one of the small projects I could see myself trying from the book's pages. Pretty and useful, I could imagine doing it in random scraps or a completely different set of solids. I noticed in "Christina's Tips" a suggestion to use a tool I haven't tried before too. I like this sort of information. It opens the mind to what's out there.


And then comes the second facet of the book: the Happiness part. This part is what makes the book different from most. Sprinkled amongst the projects, hither and thither, are various "happiness-related goodies". These range from "creative exercises... inspiring stories... and practices to increase your enjoyment of quilting".

For example, one of the first exercises is creating a collage to help you define your quilting style. As part of this task, the authors pose a number of questions to help you "tease out" your style from within the collage's composition. In this age of too-much-information, it's easy to become overwhelmed with the quilty possibilities only to be left perplexed as to what you like or what your style might be. If an exercise like this results in a little clarity, it's probably worth a shot, eh?


Other thoughtful happiness bits include the block of quotes below the title of each project. These are not famous quotations, but friendly words from Christina and Diane themselves about the project in question. Another is the personal story such as that shared by avid quilters Kay Bailey and Rachel Hauser. And one very interesting aspect of this book (which I've linked to many many times in this review), is the website Quilting Happiness." As well as a ton more info about the book, you'll find other goodies there including, but not limited to: bits that were edited from the book, freebie patterns, the ability to purchase the digital version of the book, etc... Do check it!

So that, in my view, is what "Quilting Happiness" is all about.

Okay... To the GIVEAWAY!

It just so happens that I have an extra copy of the book. And it just so happens that I'm willing to give it away. For a price of course: ONE COMMENT! Leave your comment below and make darn sure I can reach you via email, okeedokey? Beauty.

I'll announce the randomly-chosen winner on Friday, September 27th. Best of luck to you!

♥M

Saturday, July 13, 2013

Video Interview: I'm Feelin' Crafty


I recently got the chance to hang out with and interview another one of my sponsors, Louise, from the blog I'm Feelin' Crafty. I'm kinda having fun with the Google Hangout tool, can you tell? Louise is a multi-talented sewist, crafter, architect, mom and wife. And, as I found out, she has some really fun stories to tell about her adventures with sewing and creating too. 

Here, have a look-see...


She's so sweet and funny, eh? As promised, here is the list of blog items she mentions in the video:
In a nutshell, that is Louise and her beautiful blog, I'm Feelin' Crafty! Take a moment to pay her a visit, won't you?

♥M

Visit the Advertise page HERE for details about sponsoring Michele Made Me!

P.S. Kitten Update: The kittens are gone... In my enthusiasm, I think I scared them away... Hopefully, they're safe and sound with their momma.

Thursday, July 11, 2013

Quilt Finish: On A Picnic

This here is the simple picnic quilt I made for my sweet friends, DnA, who got married just a little while ago. Yahoot for their beautiful matrimonial union! Let us drink to their long and blissful wedded life!!! Hugs to you both, DnA!


Previously pictured in progress here and here, this is the quilt I quilted on Betty, my old White sewing machine. It's my first attempt at free-motion quilting (FMQ) a large-ish project. And I'm pleased with it!

And, as usual, every quilt has its lesson.

What did I learn this time 'round? Well... a few things actually.

Lesson 1: I learned the value of a good marking tool. After fussing with a regular HB pencil, a so-called quilting pencil, and a new but-soon-dry-as-the-desert quilting marker, I finally settled on the wonderful chalk pencil to mark the quilt with my quilting designs. It doesn't even compare with the rest. The heavens opened up, as I recall.


Lesson 2: For my next project, I will be taking a new approach to FMQ designs.

Part A: I ended doing gobs and gobs of unpicking because my quilting lines were designed long and smooth yet SO often ended up wobbly and crooked. Given Betty's minimal throat space, it was quite tricky to maneuver the quilt along these lines. Shorter lines would be far less challenging for Betty and me.

Part B: A little more space between the quilting lines themselves would also help. Then I wouldn't have to fret so over the fabric buckling. I was constantly checking for buckling and bunching on the backside of the quilt and it had a negative impact on my flow. It seems to me that more space between quilting lines is the answer here. That's my theory anyway. Still have to test that out in my next project though.


Lesson 3: I love the modular quilting design idea. By that I mean working in a small area on a discrete motif, as opposed to an all-over quilting pattern. Being limited by my machine's tiny throat space is not necessarily a bad thing, it just means having to think differently about how to accomplish the quilting. Modular quilting designs are one solution to the space problem.

Lesson 4: This project shows me the potential of my simple old machine. So what if it's old? I am not limited by it. IT is limited by ME! I'm supposed to be the one with the brain after all.


Lesson 5: Except for batting and thread, I could probably make 20 more quilts from my scraps/stash alone. Like really, I had everything for this lap quilt in my house! This is an old, old lesson. An oldie but goodie.

Lesson 6: If you want motivation to finish a quilt, plan to give it as a gift for a big day like a wedding or a birth. There's nothing like a deadline to set one's butt astir.

Yeah... So I think that about covers it! I hope to get started on THIS colourful one soon. Poor thing's been waiting most patiently in the wings...  I think I may need to set a deadline of some sort, eh?

♥M

KITTEN UPDATE:   Thanks so much for your kind input on the kittens. Of which there are now three (I named the third "Twigs")! We've put out food and water for them. They aren't touching it from what I can tell. So the mom must still be around?...  They've begun to meow at me when I look in on them. Am I scaring them? The Humane Society said to give them a call if we decide to hand them over. Also, after last posting, Lo reminded me that Elle (my eldest) is highly allergic to cats. That fact had totally fallen out of my head, if you can imagine!!! I'm so worried about the poor little things. I just want them to be safe and alive...

Sunday, June 30, 2013

Scrap Challenge Entry: Lily Bowl and Plate Tutorial


It is that auspicious day!

Today I must submit my entry for the all-Canadian Fabric Spot Scrap Challenge to Rachel over at Stitched in Color. And if you were wondering what mysterious thing I was making the other day, wonder no more! Here it is just under the wire... I'm going to call it "The Scrappy Lily Bowl and Plate"... I think that works as a name, don't you?


Um, so let me think... The rules, if you recall, were: (1) to use some portion of the eight fabric scraps provided in the bundle and one more fabric if we liked, and (2) to have the thing ready by today. So check and check, if you please!


Each of them - both the lily bowl and the lily plate - use all eight fabrics. If you've ever made a Dresden plate block, you'll notice that this is a slightly modified, 3-dimensional version of it. Here's the simple step-by-step just for you!

Tutorial:  Scrappy Lily Bowl and Plate


You will need: 
  • several fabric scraps
  • batting and/or interfacing (I used what I had around but a lovely medium-weight interfacing might work just as well)
  • matching thread
  • needle
  • templates and paper
  • scissors or rotary cutter
  • cutting mat
  • sewing machine (with regular presser foot)
  • straight pins

Note: I'm showing you how to make the plate but the bowl is created in exactly the same way.

Step 1: Download the templates available HERE. Cut them out. Cut 2 paper versions of Template 3 (hexagons). Note: Don't mix and match the plate and bowl templates or you'll wind up with some wonked-out bowls.
Step 2: Cut out the fabric and batting/interfacing as shown in the following photo. For the two fabric hexagons, add roughly 1/4" (6mm) of fabric all around the edge of the template before cutting.

Step 3:

For both sets of six Template 1 fabric pieces, do the following: (1) Take a piece. (2) Fold it in half along the length, right sides together. (3) Machine-sew along the top straight edge. (4) Flip the raw edges in. (5) Press the seam down so that it is aligned with the middle of the piece as shown.

(6) Now with only six of the Template 1 fabric pieces, place a Template 2 batting or interfacing piece snug inside each.

The six batting-filled pieces with make the inside of the plate/bowl, while the other pieces will be the outside.

Step 4: Once you've prepared all six batting-filled pieces, sew them right-sides together along a raw side edge, two at a time.

Step 5: In this project's case, I have back-tacked at the top edge of my stitching line to reinforce that top joint.

Note: Whenever possible, I like to save time and thread by chain-stitching pairs of items together.


Step 6: Continue joining all six batting-filled pieces until you've got a pretty star. Repeat steps 4 and 5 for the six non-batting-filled pieces to create a second star. Press the seams flat to avoid too much bulk in your bowl or plate. It helps to finger-press the seams open first before running the iron over them. You'll notice the 3-D-ness of the plate/bowl coming alive now!

Step 7: Stack the two stars wrong-sides together. Align their edges and pin.

Step 8: Hand stitch around the perimeter with a whipstitch.


Step 9: Here I added a few lines of echo-quilting around the perimeter of the plate/bowl. I used my regular presser foot for this.


Step 10:

Prepare the two fabric hexagon centers: one for the inside of the bowl/plate and one for the outside.

HERE's a beautiful demonstration of how-to prepare hexagons by Sunshine's Creations. Follow the first 10 photos in the matrix only for the two hexagons you'll need for your plate and bowl.

Take one of the two fabric hexagons (the one you're using for the outside of the plate or bowl) and after pressing it with your iron, remove the thread and paper from the hexagon. Nestle the batting hexagon inside the fabric hexagon and re-fold the fabric edges over the batting.

Step 11: Place the batting-filled hexagon on the bottom of the plate/bowl and hand-stitch it in place.   Repeat Step 11 for the second hexagon, stitching it to the inside bottom of the plate/bowl. I tried my very best to align the points of the hexagon with the seams in the plate/bowl.

Are we done yet? YES. Yes, indeed we are, we are! We have plate-age and/or bowl-age! Wahoot, baby!

And how pretty and scrappy they are. Perfect for storing some of those slippery craft supplies or - in my husband's case - the contents of the bottomless pits known as his pockets.

Thank you so much to Karen from Fabric Spot for sponsoring this all-Canadian crafty scrappy challenge, and to Rachel from Stitched in Color for hosting it! I had some good times over the last week creating my little entry and I just just cannot wait to see what my comrades, Laura from Waffle Kisses, Carla from My 1/2 Dozen Daily, and Patti from Retired to Quilt have made! Eep, so excited!

Happy happy Canada Day to you!


♥M

LinkWithin

Related Posts Plugin for WordPress, Blogger...