My basement workspace is a mess. Still. I tidy it up. I make some headway in the organization department, and 2 nanoseconds after getting some crazy notion in my tiny brain, the place looks not unlike the epicentre of some horrific crafting disaster. Why do I let this happen? SIGH.
So much needs to be done down here. I need working doors for my closet. I need to organize my yarn. Again. I MUST gain control over the ever-growing pile of recyclables that I simply CANNOT part with! I need knobs on my credenza drawers so that I don't have to stoop down and desperately grip the drawer-bottoms with the very tips of my fingers in order to get to the craft supplies and tools trapped inside! I NEED KNOBS!!!!!!
Okay, Okay... Get a grip, Michele. Don't get your knickers in a twist. Don't I have knobs? Somewhere in this mess. Is there NOT a stash of wooden knobs SOMEwhere down here?! Think Michele, think! There is?!!! Oh yes... There is... Pardon the outburst. Here is that little knob stash!
Okay, well, I'm sorry. These knobs are lovely and all, but they just won't do. They are boring. Ordinary. Sad little knobs. We need something better.
Let's do something about it! Let's paint these babies!
Shall we begin?
Tutorial: Hand Painted Wooden Knobs
Draw circles on a sheet of paper, a little smaller than the top area of your knobs. Make some designs. Whatever you like. I happen to be partial to plants and animals. So here I go.
Once you are satisfied with your designs, gently transfer them in pencil onto some fine tissue paper (you know the kind you stuff in gift bags). Cut them out.
Now give your knobs a few coats of paint. I used liquid acrylic craft paint and put on 2 coats. Some knobs I left as is. Allow the painted knobs to dry.
Once the paint is dry, take a knob and coat the top surface with Mod Podge using a small paint brush.

Take one of your little tissue paper circle designs and, drawing side down, place it on the Mod Podged knob.
Gently smooth the tissue paper onto the knob surface with your brush. You will see the drawing appear very clearly on the knob. The drawing is protected by a fine layer of paper and therefore won't smudge.
Repeat for all your knobs.
Now your knobs are ready for painting! Yippee! Paint away to your heart's delight!
A few things:
- You will need a couple of fine brushes as this is tiny work.
- Once you are done painting, you can (optionally) distress your knobs with some fine sandpaper.
- You will then need to apply a few coats of varnish to protect your itty-bitty works of art.
- Wait a few days to allow the paint and varnish to cure before installing the knobs.
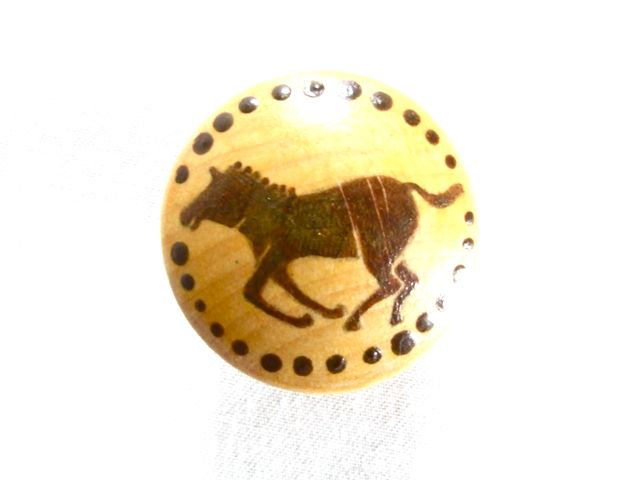
Here are some of my finished knobs! Yay for knobs! I have knobs! Woo-hoo!!!


Have a terrific day!
P.S. Linking
here!